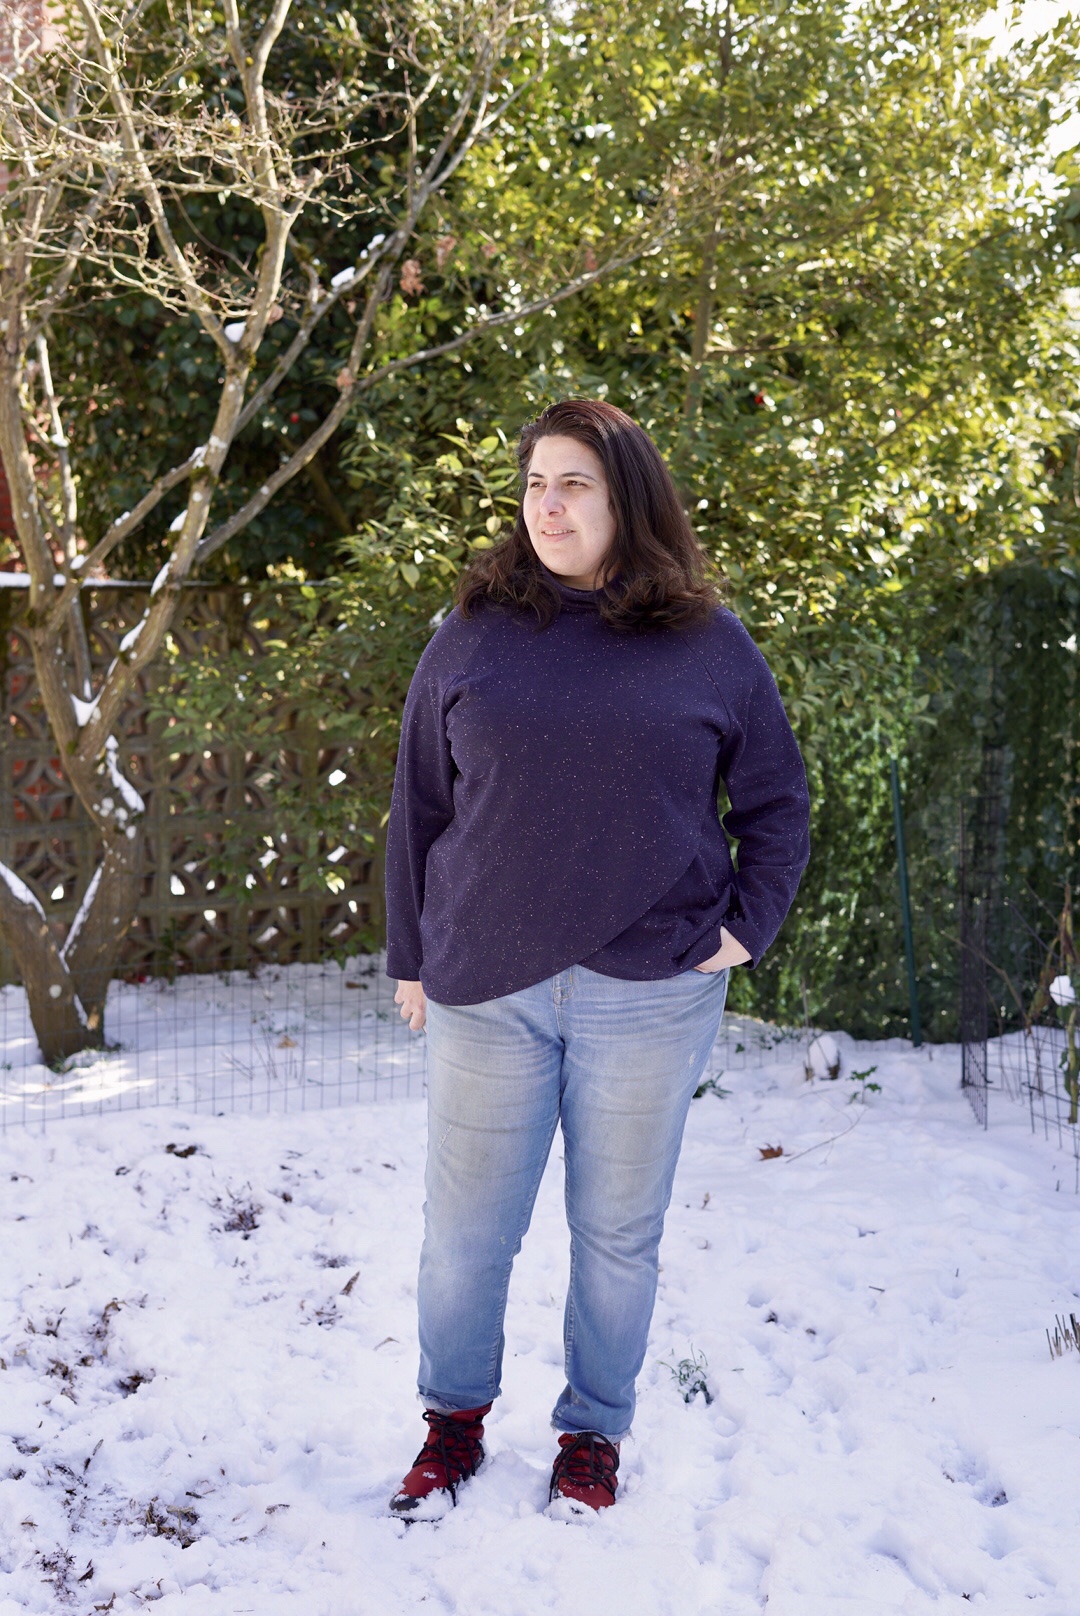
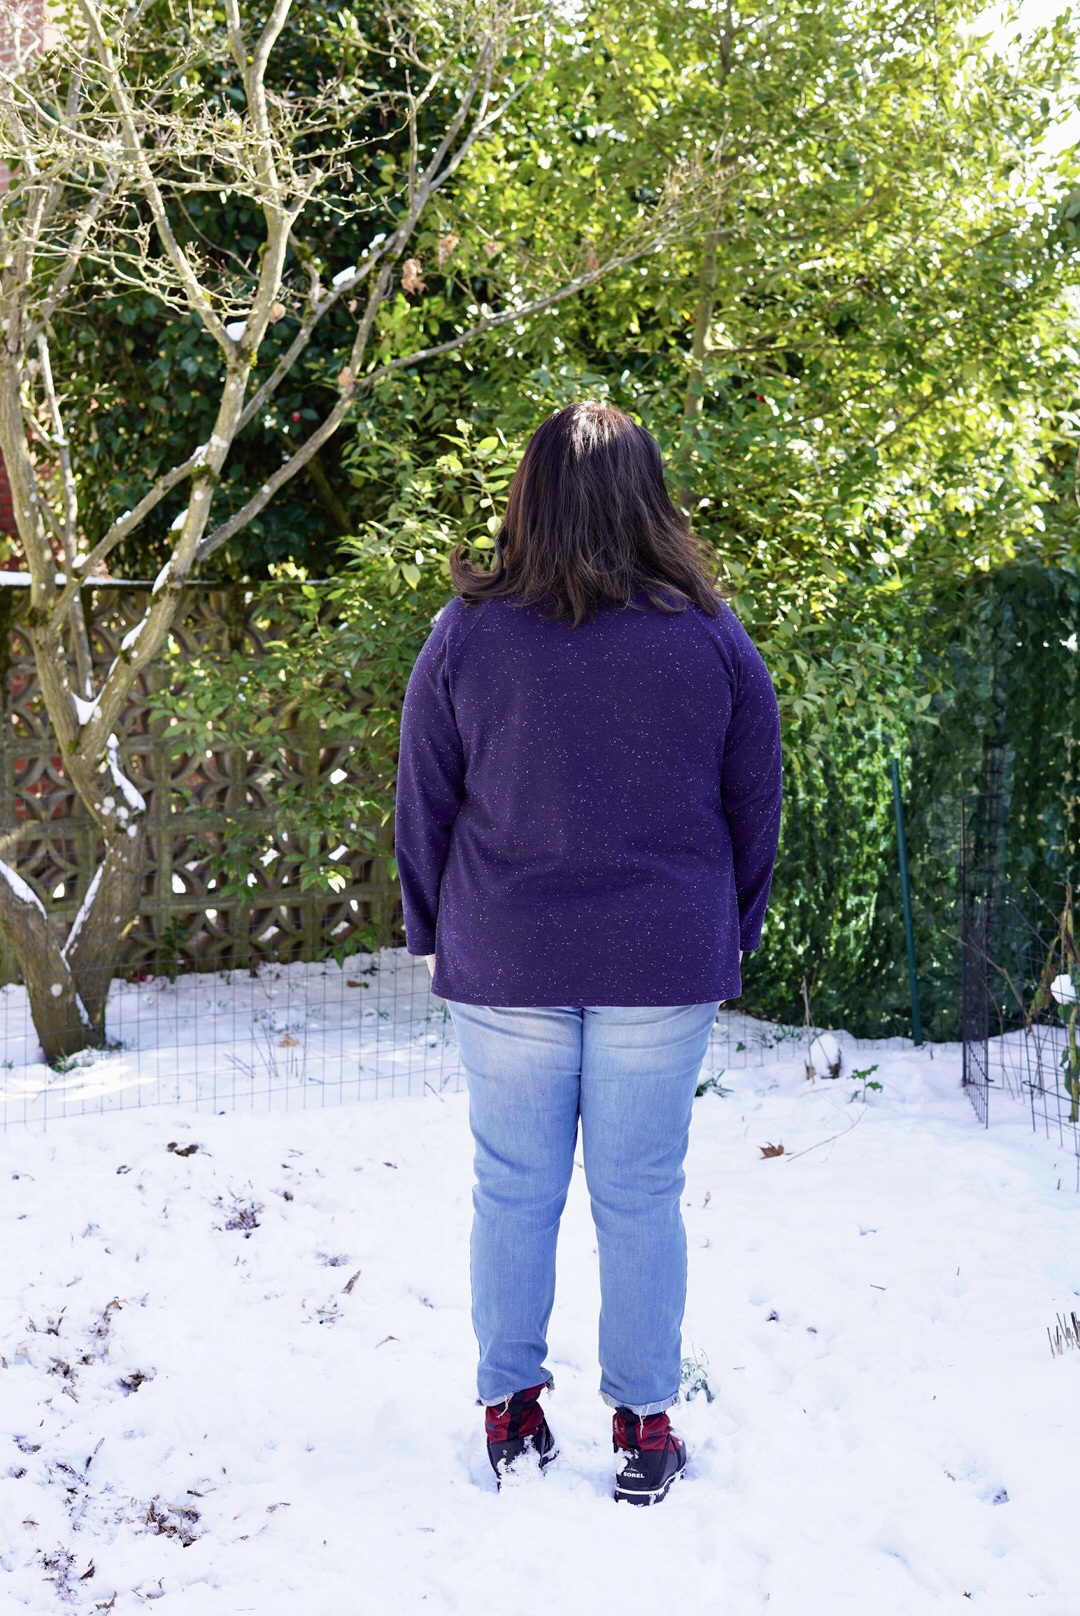
Itch to Stitch has released the new Orono Top and suprise! I was pattern tester. 🙂 This pattern is 20% off for the launch week.
Orono is a raglan sleeved top with a cross over front and a high pocket. There are cleverly crafted pockets included, although I don’t find myself using mine much.
The Orono pattern is drafted for knits with 30% stretch. That means you can make it with cozy fabrics like interlock, sweatshirt or terry. Mine is made from a flecked rayon ponte I found at Joann.
Itch to Stitch’s latest pattern is the Visby top. This is a super versatile pattern that has options for a quick-to-make raglan top, a henley, or a hooded henley. Plus it’s on sale for launch week! As a pattern tester for Visby, I made View B the raglan top.
I have had this striped double knit fabric from Hart’s Fabric in my stash since the fall, but I hadn’t found the right project for it until Visby! This denim-y blue fabric has wide stripes one side and fine stripes on the other that are also toned due to the large stripes. So it was perfect to make a raglan top! I used the fine striped side for the body and neckline and the wide striped side for the sleeves and cuffs.
With just 4 pattern pieces, View B is a quick make. I think it was about 3 hours from when I clicked print to when I finished the hem. A few notes on this pattern… First check the sleeve length. It’s intentionally pretty long. I had limited fabric and I took about 4″ out of the sleeve length to fit it on my fabric and they hit me just above my wrists. I like raglans with 3/4 sleeves so I will mostly wear this with the sleeves pushed up. The body is also a bit longer than you might expect. I like the length though! I really like the deep cuffs on this too.
I definitely think, for me, this is a superior pattern to the Hey June Lane Raglan. The poor grading on the larger sizes of the Lane result in a ridiculously big neckline. It practically falls off my shoulders! While I had thought about fixing it, I think I’ll just stick with making Visbys.
Once I find the right fabric, I’m definitely going to make the henley version as I love henley! Someone also mentioned that this would be a great rashguard too! I could also see this in a technical fabric as layering piece for hiking or snowboarding. I love patterns with many uses.
Cashmerette has a new pattern out – the Springfield Top. It’s a woven tank pattern with options for a closer fitting princess seamed back or a looser back version. I’ve been wanting some sleeveless tops to wear to work so I bought it as soon as I got the email. This pattern got printed and assembled right away – I love trimless patterns! Then I just had to find some fabric.
This pattern requires 2 yards + of fabric if you’re using 44″. That seems like a lot for a tank top. Most of my stashed fabrics for tops are 1.5 yards and the rest are 3 yards for dresses. I ended up biting the bullet and pulling this Moda lawn I had purchased in January 2015. I figured if I was really going to make a dress out of it I would have done it by now!
I opted not to cut the bias binding for the neckline and armholes and use premade bias tape. Luckily earlier that day I had scored a massive bag of bias tape and seam binding at an estate sale for $4. By not using my fabric for the bias tape, I managed to get this cut out of around 1.5 yards of fabric! So there is hope for using this for some of my stashed top fabrics.
I opted for the looser version and it went together very quickly. I had some issues with my neckline sticking out but judicious ironing and clapper application got it to settle down. The only issue I had with the pattern is some gaping in the back neckline. I asked Jenny if this was intentional since I noticed the same thing in some of her own Springfield photos. She replied back that this pattern includes a forward shoulder adjustment and if you didn’t need it then your back might gape. Bingo! If I slouch my shoulders forward then it sits flat. So I just need to remember to make this adjustment to the pattern. Who knew having good posture would cause such problems! 🙂
My gripe is that $14 seems a little pricey for such a basic digital pattern. The version I made was literally 3 pattern pieces and could have been 2. I get that Big 4 companies charge the same for every pattern, but that doesn’t matter when I can get them for $2. I would really like to see independent pattern makers adjust their pricing models to reflect the effort that went into creating a pattern.
I went back to New Jersey for the holidays. While I was at Natalie’s house she handed me some sparkly black jersey and said make me a shirt. Apparently I am the official family sewer of knits.
I was actually wearing a Coco top at the time, so I had her try it on to see what sort of size I should start with and adjustments needed so it would need to fit her and her growing tummy.
Once I got back to Portland, I had to figure out what to make. I had already hacked my altered Coco pattern to make a Renfrew-like cowl neck top with a ponte for myself, which would definitely work with the drapey jersey. But first I need to fix that neckline. The first version had too wide of a neckline for the cowl, so I retraced the pattern and set about altering it again. This time i made the neckline narrower and deeper – more like a Renfrew.
Once that was done it was a matter of measuring the neck opening and cutting a rectangle to fit. I recall that the Renfrew cowl is 2 pieces, but I cut a single rectangle and folded it half. So the only cowl seams are on the center back and along the neckline.
You may wonder why not just use the Renfrew pattern? The answer is that I really love the fit of my altered Coco. Its very flattering – fitting nicely across the bust while skimming over my middle. Renfrew just didn’t fit me that well and I haven’t gotten around to modifying it yet, so it’s easier to just add a cowl then refit the whole pattern.
I love how this turned out. I added some length and width to the pattern to make it work as a maternity top. I think the the cowl neck looks great and balances out the sparkly fabric. This is also the most professional looking garment I’ve ever made!
The pattern is by Tilly & the Buttons and it’s called Coco. The digital version costs £7.50, which is about $12.50. On a side note, this is why my British friends love coming here to shop!
Anyway, I wasn’t that interested in making this shirt when the pattern first came out especially since it appeared to be £12.50, but that was for the printed pattern. Soon after getting another Boden catalog, I realized I needed a Breton top, so I changed my mind and bought it.
My Polka Dot Coco
I did a no-dart FBA and curved out the front side seams in the bust area to accommodate my DDDs. Since I’ve never done a no-dart FBA before, I made a test top using some leftover knit fabric to ensure this fit properly. I was very happy with the fit in the bust area. I also took the sleeves into make them more fitted.
My final garment was made using this fab black and white polka dot jersey I found at Mill End Fabrics. Since I was sure about the fit, I did the entire thing on my serger except for finishing the hems and neckline. I sewed those on my sewing machine using a double needle for a professional looking finish.
Overall I really like this pattern and I can see using it as a base pattern for my own variations. However I had a couple of problems with it. First and foremost is that the amount of fabric required is specified inaccurately in the Supplies section of the pattern. It says you need 2 1⁄4 yards x 60in wide, but this is the amount you need to make a dress. You have to go to the layout page to see the amount needed just for a top (1 3/4 yds). And I think that is still inaccurate since I was able to make my larger sized top and still have over a yard leftover. I think the pattern should at least specify in the supplies section where you need to look for proper fabric amounts.
My second issue is that the instructions tell you to do a lot of your hem and neckline finishes using zig zag stitch. Nothing screams homemade to me like zig zag. If you make this top I would definitely recommend using a double needle as it provides a great looking finishing seam that also stretches. I wore this top today and and no one in my craft group had any idea it was homemade. That’s sounds like success to me!
The good news is about my extra polka dot fabric is I can pair it up with some to-be-purchased striped fabric and make one of these Boden Breton tops I love!
I kept getting the stellastarr* song My Coco stuck in my head while making this top. Here it is for you to enjoy, too.